Do-it-yourself wrought iron gate installation
When it comes to your own home, you want it to be securely protected. This function is primarily performed by the gate.
Installing a wrought iron gate with your own hands is not at all a difficult task. It is enough to watch the training video, show imagination and make every effort, diligence and accuracy.
What are the gates?
There are many types of wrought iron gates.
1) By type they can be divided into:
- deaf, they are covered with an opaque material. Completely hide the fenced area
- blind gate design.
- transparent, made of rods with various additional ornaments. This is the option that you can do yourself, without having blacksmithing skills.
- combined, combination of the first and second types
2) By design:
- swing. When the gate has two wings and opens in different directions.
- retractable. When opened, they move to the side.
Both gate designs can be automated.
What are the advantages of wrought iron gates:
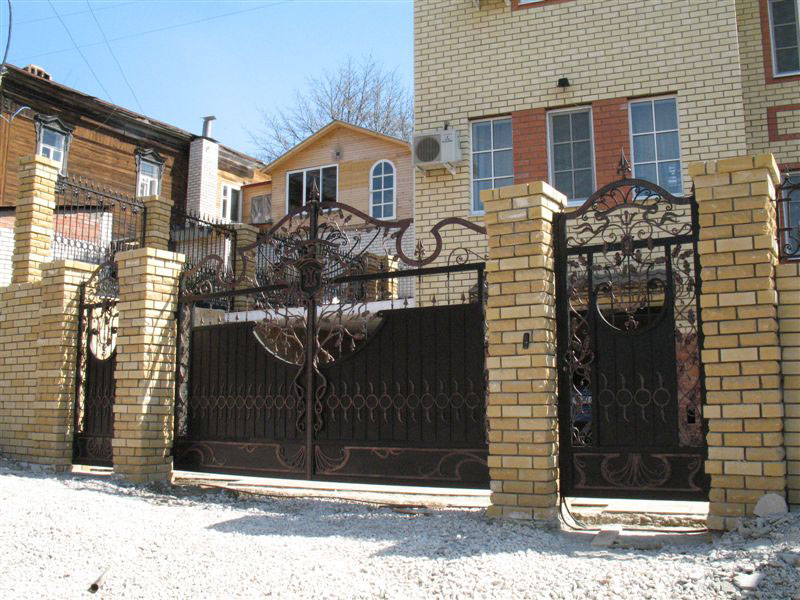
- They are universal. Perfectly combined with all building materials: wood, brick, stone, corrugated board.
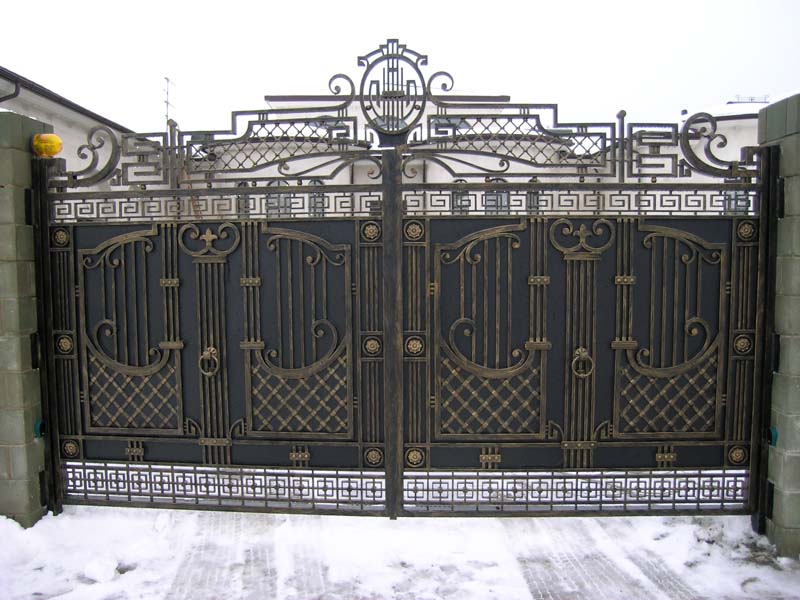
- A wide variety of design solutions. They can be of a classic rectangular shape, in the form of an arch, decorated with all kinds of peaks and weaves. They can be made wide for the entry of cars or narrow in the form of a gate.
- Exclusivity. As a rule, such things are made completely at the request of the customer. That is, you yourself can think about how the entrance to your house will look like.
- Strong and durable. Withstand the most severe weather conditions, temperature extremes. The maximum that can happen to them is to be covered with a patina, but this gives them originality and beauty.
- Such gates can be equipped with an electric drive, video surveillance and complex locks.
Step-by-step instructions for self-installation of the gate
So, in order for the installation of forged swing gates made by hand to be correct, you need to adhere to the following algorithm of actions:
- To begin with, we make a sketch of the future gate in real scale. This creative process is the most responsible. If you have never painted and do not have enough imagination, you can use catalogs or the Internet. For those who have little experience in welding, it is better to choose the simplest option, without any frills.
- Lay out all parts of the drawing on a smooth horizontal surface, carefully checking the sketch and making sure that the drawing is even.
Forged parts of the gate do not need to be produced by yourself. They can be bought in stores that offer a wide range for every taste.
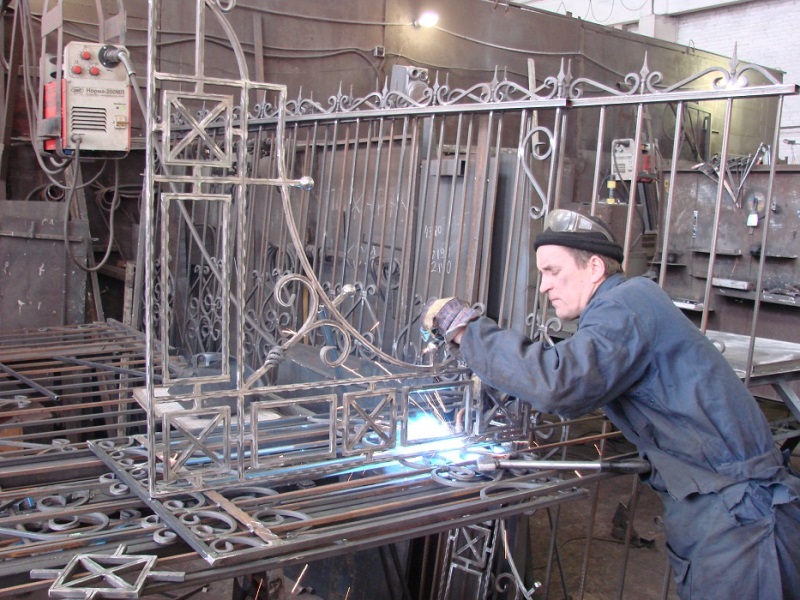
- Welding of all elements. This stage of work does not tolerate haste and should be given the most attention. Finished seams should be barely visible and thin.
- After welding, carefully process all seams, remove all dust. Then prime the metal and paint it in a pre-selected color.
At this stage of manufacturing the gate itself is completed, you can proceed with its installation:
1) It is necessary to install the pillars on which our sashes will be held. Here it is important to choose poles that can withstand heavy loads. The best option is a metal frame, which will then be covered with bricks.
Important! It is necessary to use material for a post thicker than 100 mm. It will be able to withstand heavy loads and the gate will not sag in the future.
The sequence for installing the pillars is as follows:
- A marking is made of the place where the metal pipe will be installed. The depth must be at least one meter, and the width is calculated from the width of the structure (including bricks) plus 10 cm on each side.
- Pillars are inserted, perpendicularity is checked, and then covered with rubble.
If at this stage you do not check the evenness of the installation and a small cosine appears, then the installation of all other parts will have errors. As a result, you will not get the desired result and you will have to start the installation again.
- We prepare a solution of sand and cement (in a ratio of 3: 1 for cement M300), add water and stir the mixture until smooth. Fill the gravel, check the evenness, correct if necessary.
- We lay out the brick. Each next row should overlap the seam of the previous one.
- We make the attachment point of the flaps: for this, where the curtains will be attached, we weld the shank and release it through the seam.
After the seams between the bricks have dried up, you need to do the jointing. This compacts the cement mortar, giving the structure the necessary rigidity.
2) On one leaf we drill holes for the lock and the deadbolt. A hole for the valve on the second half of the gate, we make it already in the process of collecting.
3) We hang the gate on the finished poles, which must be completely dried.
4) We make a hole for snapping the lock.
5) We check whether the doors are closed, whether there is a skew. This will be the final step in installing the swing gate.
Installation of sliding gates is somewhat similar to swing gates:
- Support poles are installed.
- A foundation is made using a 20 cm channel, which is installed at a depth of 1.5 m. Reinforcement with a cross section of 12-16 mm is welded to it, not less than half the length of the gate. Then the channel is poured with concrete and 28 days are given for shrinkage.
- Installing electrical wiring. Usually, schemes are attached to sliding gates, according to which you can make this item yourself.
- On the channel filled in the foundation, carriages are installed. Then the gate frame is put on them and set to the desired level. Next, the carriage platform is lightly welded to the channel. If everything is done correctly, you can completely scald the gate carriage platform.
- Make sure there is no gouge and you can weld the support and end rollers to the catchers.
If you can get the job done, you end up with a beautiful gate and save your money.