Wood aging - ways to age wood
In this article, you will learn how to age wood. Far from any wood is suitable for repair work in an apartment - bars and boards are required to be even, straight, without knots and dry. The last requirement may even be the main one - the raw wood used for work will shrink after drying and may even lead to a change in shape - the bar can be twisted with a screw, and a trough can be made from the board.
Therefore, for all repairs we use only dry wood. Recently, in addition to solid wood slats and beams, glued blanks in the form of carpentry boards and boards glued under pressure from individual slats - lamellas are increasingly being used. Such blanks are much more convenient (and more expensive), as they are less susceptible to various changes in shape and size.
Wooden beams and other wooden products and blanks can be used in their original unfinished form, but more often the wood is still processed.
 Wood staining
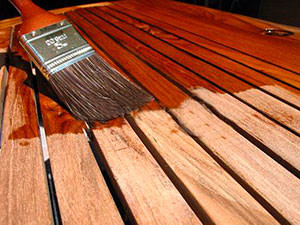
In addition to simple painting and varnishing, large wooden parts are most often subjected to 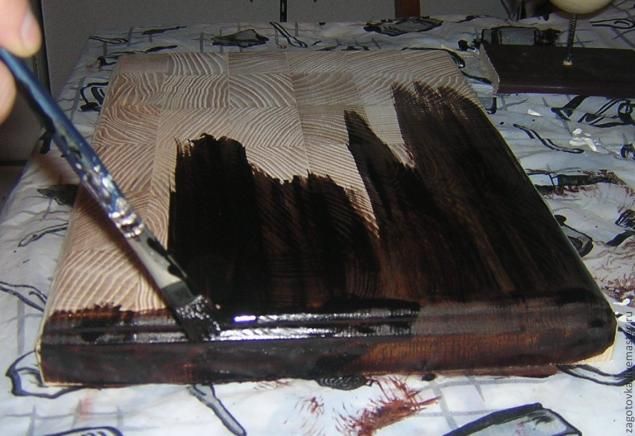 special types of decorative processing - processing with stains and artificial aging of the surface.
Both of these techniques allow you to change the appearance of parts, giving them the appearance of darker and more expensive wood, or to create the illusion of a product made many years ago.
These techniques have become so widespread during repair work on premises that they are often even confused - wood stain treatment is considered wood aging, and aging is taken as an integral part of the staining process. True, there are some reasons for this - the aging of wood is almost always accompanied by staining to give an "older" look.
How to stain wood
It should be noted that wood staining is a very old technique for changing the appearance of wooden products, and therefore there are many techniques and methods for carrying out this process. 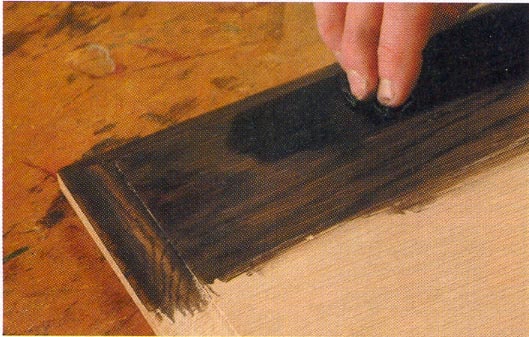 materials. But this does not change the essence of the process and has little effect on its technology.
The change in the color of wood in the process of staining occurs due to the chemical reactions of fiber and the introduced reagents, and hence a great variety of recipes and modes. Therefore, it is quite difficult to give a ready-made recipe, although you will find ready-made solutions on sale.
“under the walnut”, “under the oak”, “under the ebony” and even “under the Karelian birch”. But each chemical composition acts differently on different wood. Therefore, before finishing the product, try the process on the invisible side of the product and wait for the result.
In most cases, the process of changing the color of wood does not occur immediately, so be patient when using wood stains.
In addition, other materials are used in practice to change the color of the wood surface in the form of various impregnations that create a coloration of the surface layer without chemical interaction with fiber. Impregnations are even more convenient than stains, as they give a faster and more predictable result. 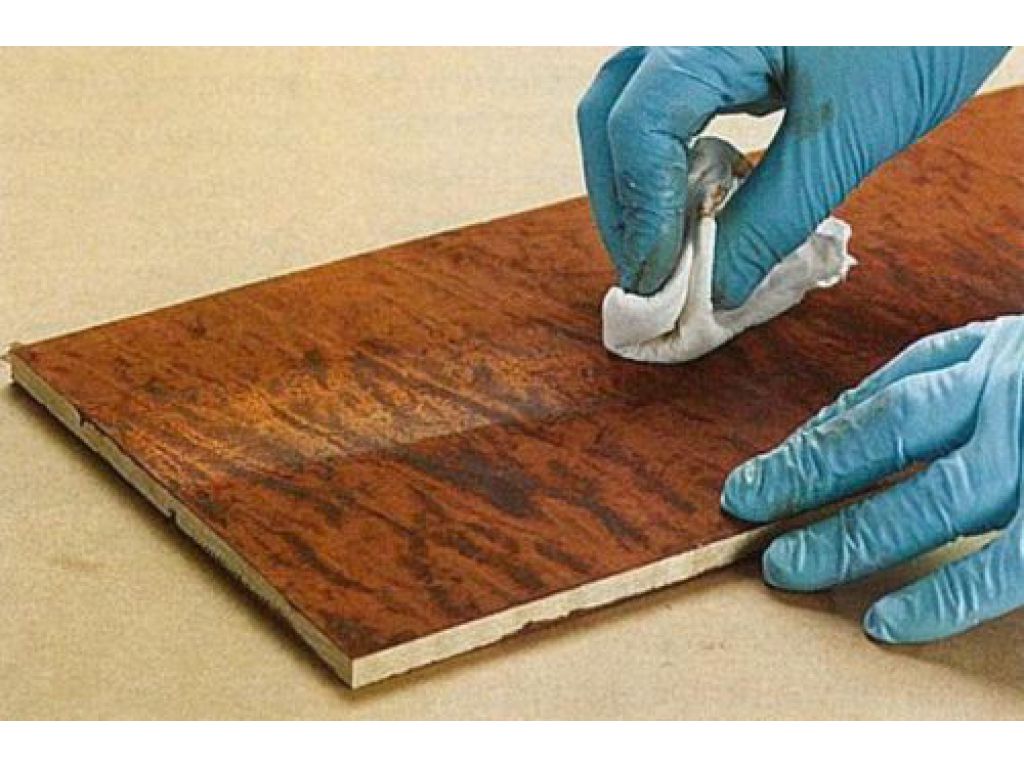 To chemically change the color of the surface layers of wood, you can even use the familiar tools at hand: iodine, brilliant green, potassium permanganate. All these tools are in the home first aid kit, and everyone can try himself as a finisher - at his leisure and on an unnecessary piece of the board.
The result obtained strongly depends on the type of wood, the concentration of the reagent and the exposure time, therefore, samples are inevitable.
All formulations are used in the form of dilute aqueous solutions, therefore, when diluting iodine or potassium permanganate for testing, try to remember (write down) the concentration of the solution. Highly dilute solutions (as a rule) give a weak color, and more concentrated - more intense.
The solution is applied to the surface of the wood with brushes. Depending on the degree of dilution during application, a colored layer of varying intensity is formed on the surface - this strongly depends on the chemical activity of the reagent. Zelenka (brilliant green) works most gently, potassium permanganate (potassium permanganate) works most aggressively. Iodine behaves differently on different types of wood, but it is also quite aggressive, creating a dark color. For comparison, one can try not only different concentrations of reagents on one piece of wood, but also compare the effect of various substances.
The condition of the treated surface has a very large influence on the result. The smoother this surface, the more predictable the result of processing. If the surface of the part is smooth, polished, then uniform coloring of the entire surface can be obtained.
But these features - uneven color when processing a rough surface - are used to create additional decorative effects, such as imitation of old wood.
Case Studies
We trim the wooden beam with a stain.
Preparing the surface.
Example 1
 Before using the stain, we process the surface of the wood - we plan and grind it. Planing is carried out with an electric planer - this allows you to get a fairly clean and even surface.
Sometimes this is enough to use stains .
But more reliable results can be obtained after grinding the surface - removing all microroughnesses, we get a more uniform coloring of the fibers. For sanding, fine-grained sandpaper is used, and the graininess of the paper depends very much on the hardness (on the breed) of the wood. Like planing, grinding is carried out only along the fibers, since only in this case the most smooth surface is obtained with a minimum of villi. To perform the grinding process, you can use a bar wrapped with sandpaper and work by hand (Fig. 2).
But it is better to use an electric grinder to get the smoothest surface. 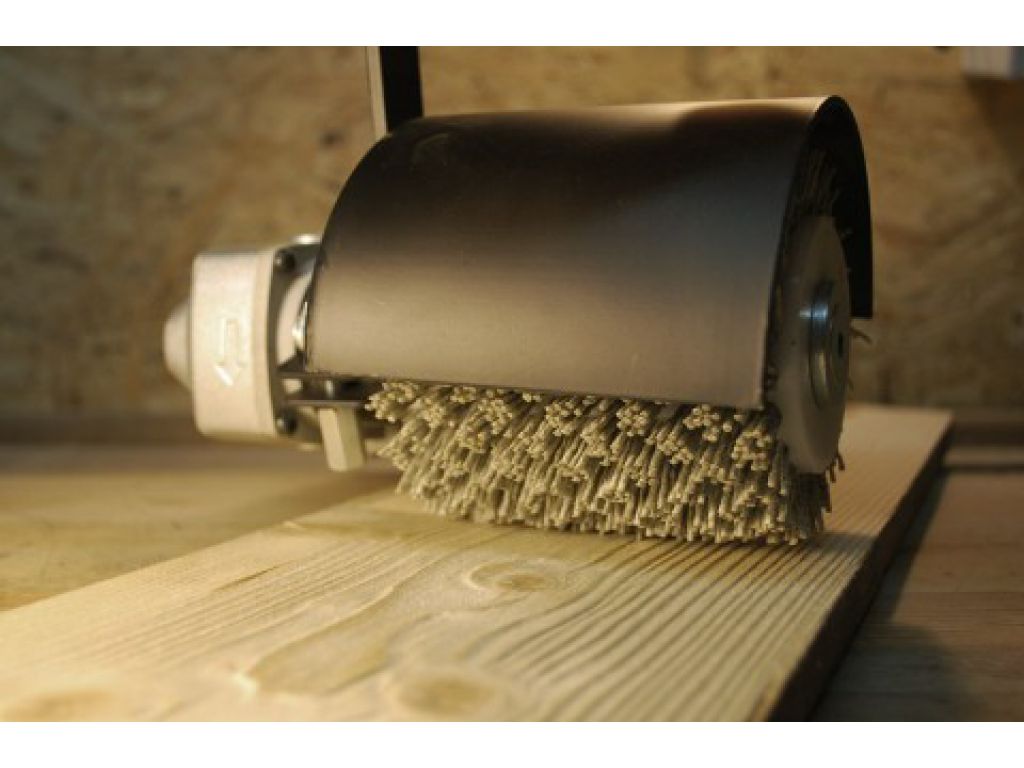 After planing and sanding, it is very important to carefully remove wood dust from the surface prepared for staining - dust particles can cause irremovable stains. Therefore, it is no coincidence that next to the sanding bar with sandpaper, there is a soft brush that removes dust.
And only after that a stain is applied to the surface with a soft brush. A soft, lint-free cotton swab gives even better results than brushes. 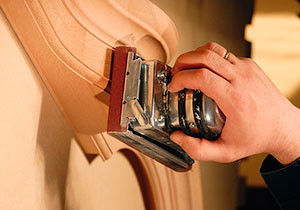 The result of the process is highly dependent on the concentration of the stain, the presence of unevenness and sagging of the composition, therefore, after the brush with the staining composition, a clean swab or rag is used to remove the excess.
Recently, stains with thixotropic properties have appeared on sale - the jelly-like composition spreads beautifully over the surface and does not form streaks (and drops). The use of thixotropic stains simplifies the work - after applying the composition, it is not required to use a rag or swab.
![]() Example 2
Example 2
To increase the expressiveness of wooden parts, especially when using a light stain, the technique of drawing a wood pattern with a brush with ordinary gouache paint is used.
A stain is applied to the surface of the timber with a traced pattern and the excess composition is immediately removed with a swab or rag.
Mordant process many details of the interior of the room and various design details: frames of 5 paintings, moldings, cornices, etc.
Wood aging methods
Stain makes it possible to give an ordinary pine board the appearance of a “pedigree” tree, darken it and even imitate an old tree to some extent, but for a more tangible result, the surface layer of the wood is subjected to special processing. 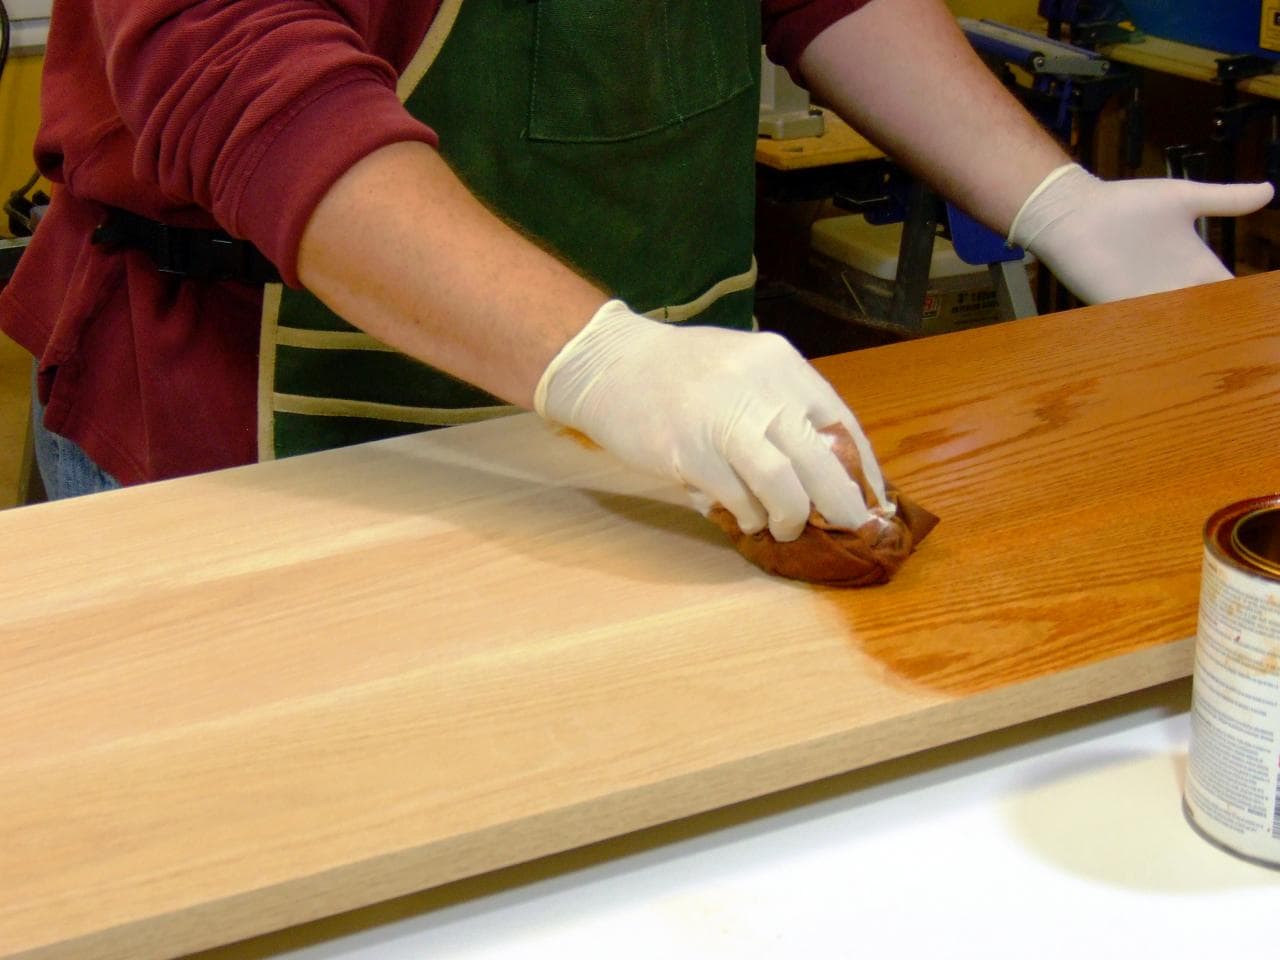 As a rule, surface treatment is used with a round metal brush (cutter). Such a brush is used in plumbing to clean the surface of the metal from rust before painting.
The cutter is fixed in the chuck of an electric drill and, by moving the rotating cutter along the wood fiber, the least strong, soft fibers are removed from the surface layer of the wood, while the harder fibers remain.
Thus, an imitation of the aging of wood is obtained.
The structure of the wood is revealed due to the harder remaining fibers), but these fibers do not form a flat surface, and to level it, the surface is sanded with sandpaper.
Grinding can be done by hand, it is not recommended to hold the sandpaper with your fingers - you can burn your fingers, and it is difficult to get a smooth surface.
After removing the dust from the surface of the wood, you can start staining the wood - a thixotropic stain is applied with a brush, which does not require subsequent removal of excess.
The stain darkens the color of the wood and contributes to the additional identification of the pattern. The combination of artificial aging of the wood surface with a cutter and the use of stain gives a more tangible result compared to using stain without aging.
Wooden blanks treated with stain and stain in combination with mechanical aging are widely used to create “rural” motifs indoors.
Wooden beams, stained or aged and stained, are often used to finish ceilings. But wood with soft fibers removed after cutter is often used without leveling the protruding veins - it is believed that such a rough surface imitates old wood even better.
Liked? Subscribe to the blog and get new articles!