Gates and gates from profile pipes: advantages
A lot of summer residents today prefer to install gates with a gate based on a profile pipe as a fence for their site. Such pipes are made of different alloys, very light joints are very often used. A gate and a gate made of a profile pipe, connected to each other into a single structure, will reliably protect your site from uninvited guests.
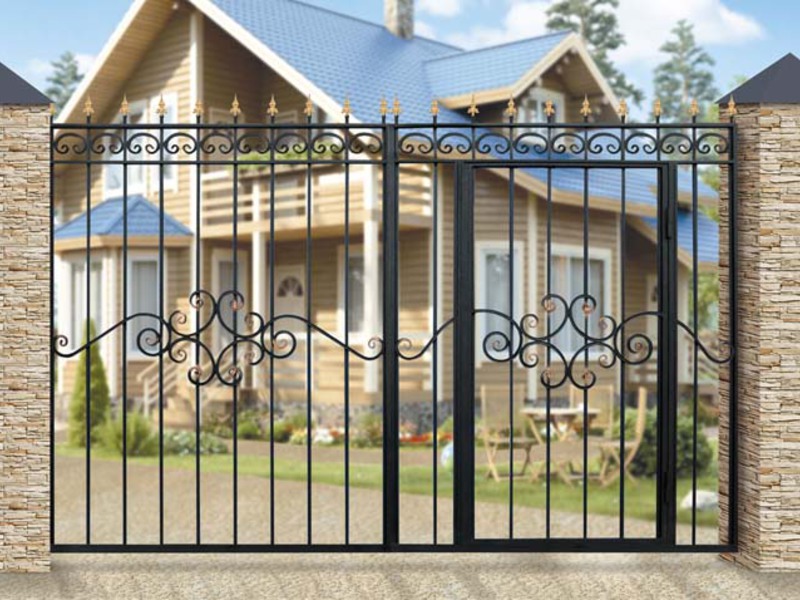
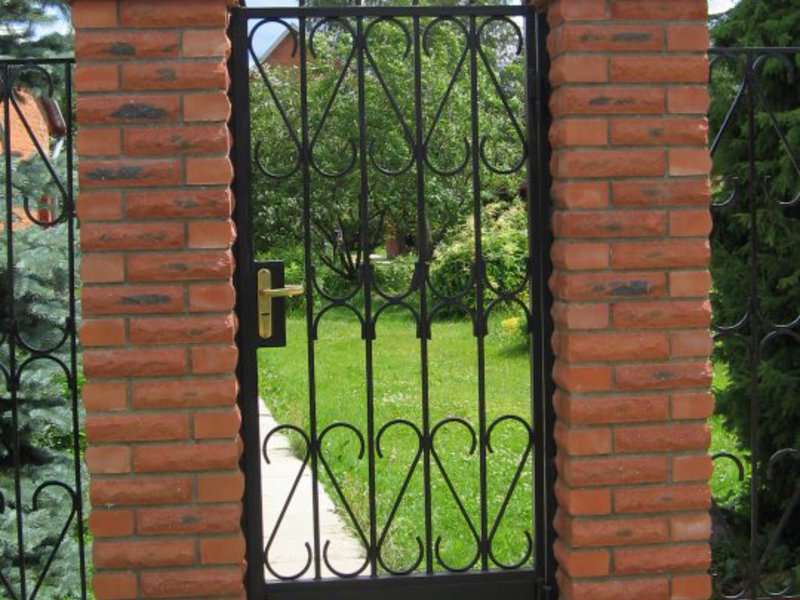
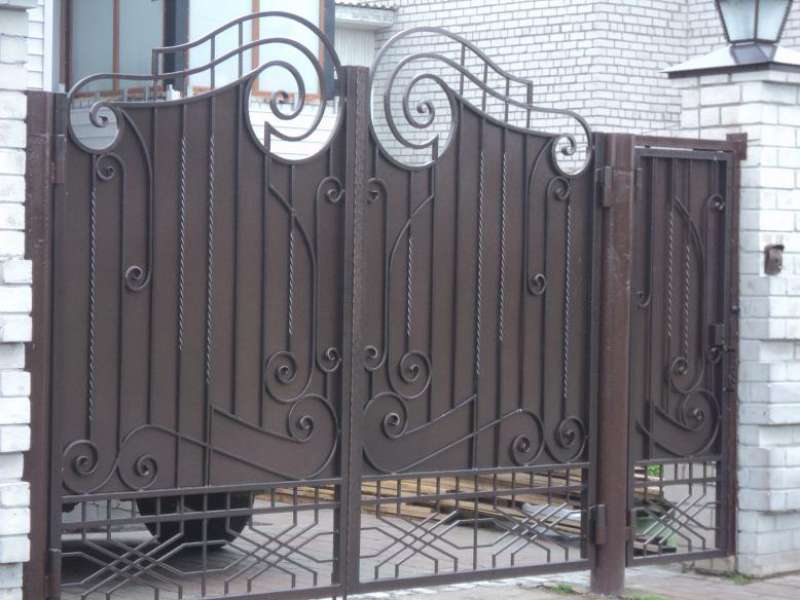
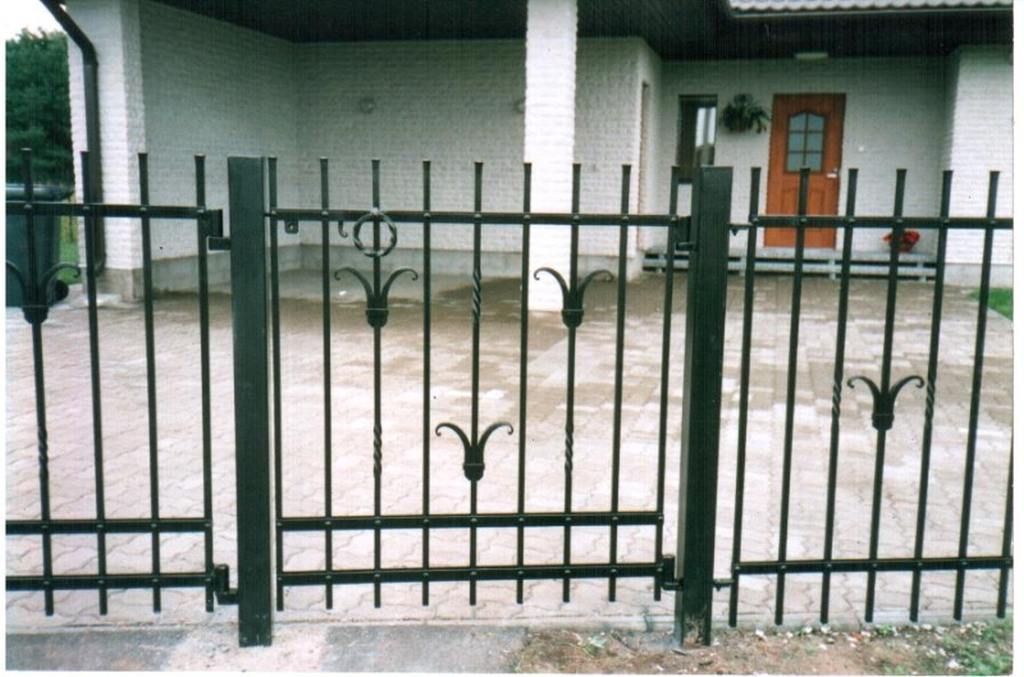
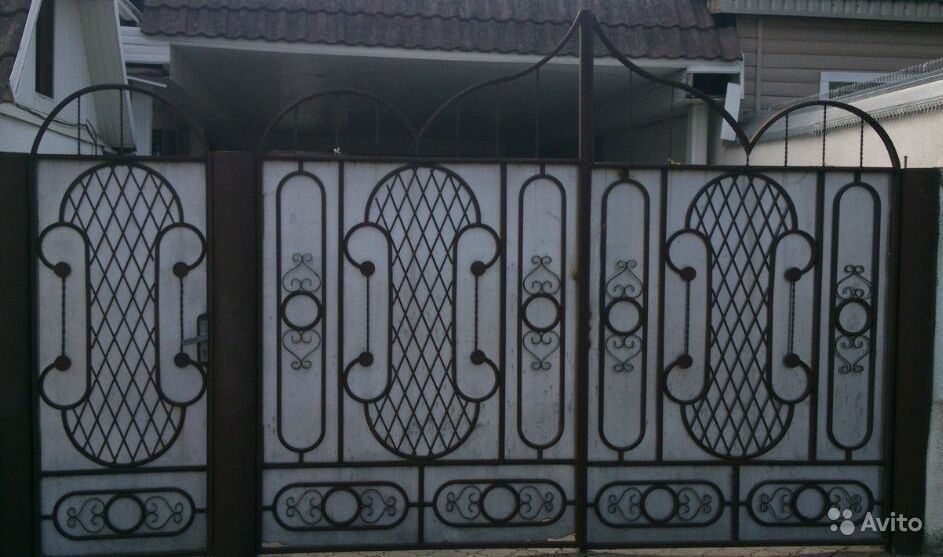
Today we will tell you how to make and install a wicket and gate from profile pipes with your own hands. Also in the article there is a photo of finished products installed in suburban areas. Thanks to these photos, you can decide on the style and color of the design.
Gates and gates from profile pipes: advantages
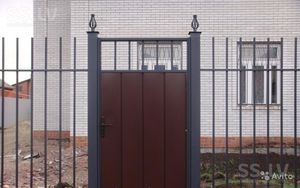
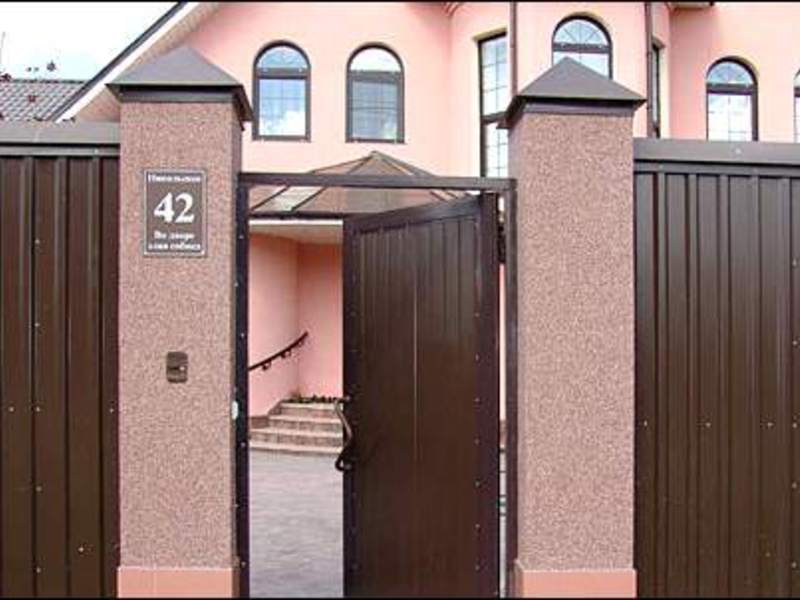
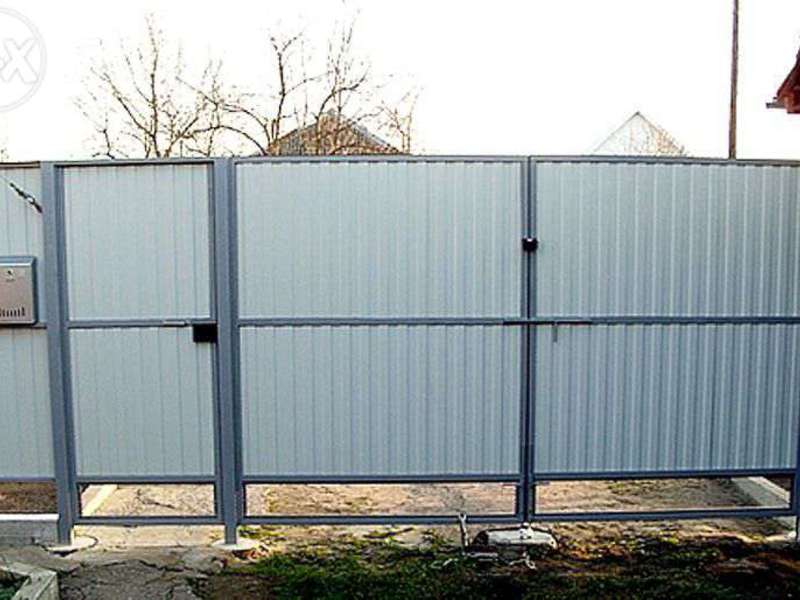
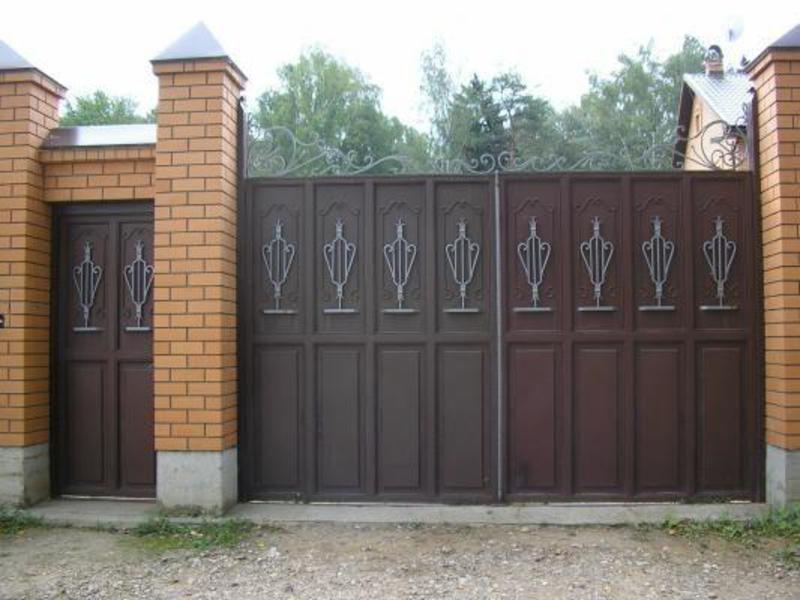
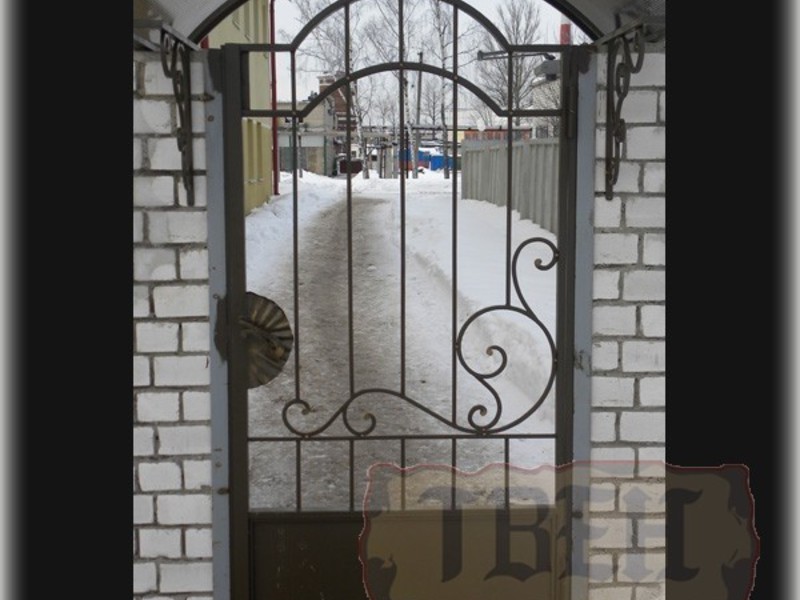
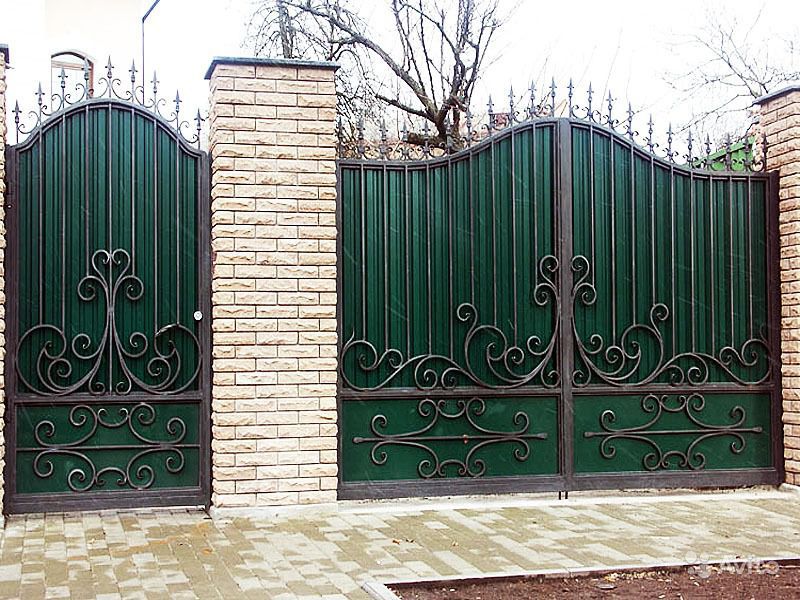
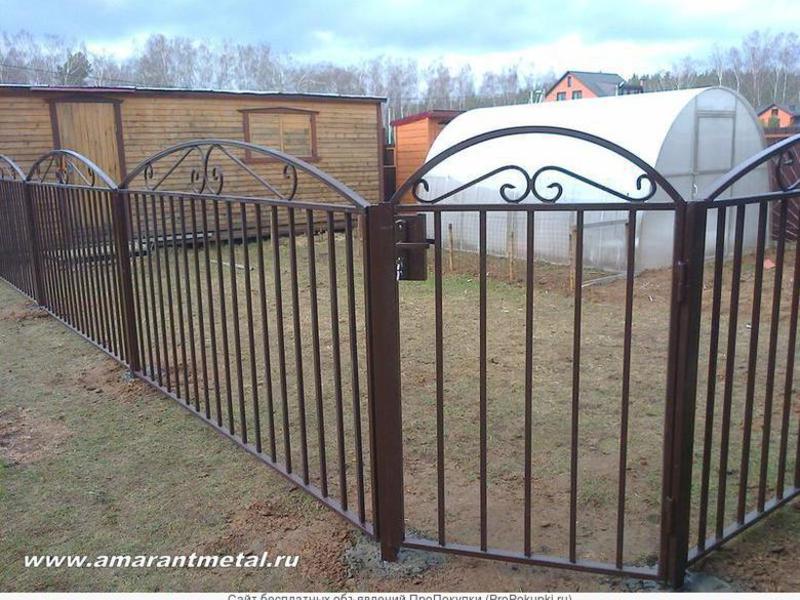
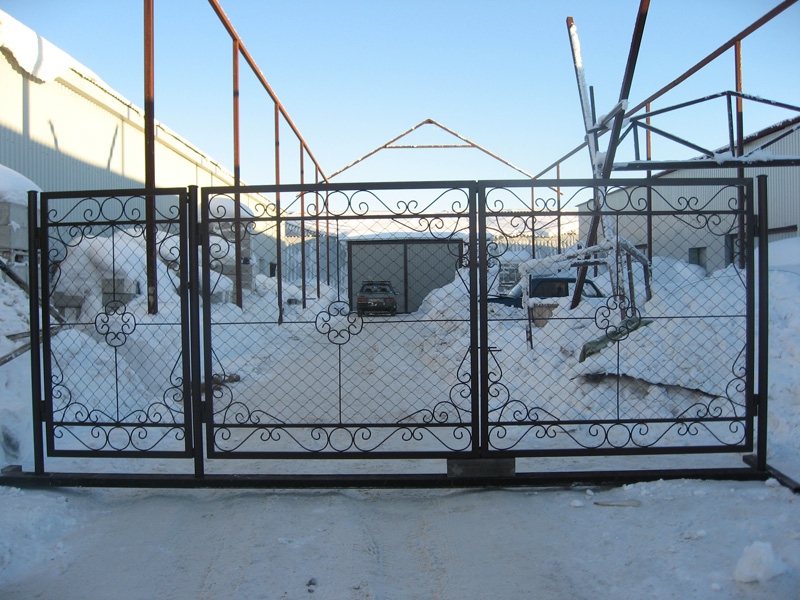
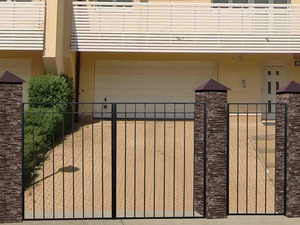
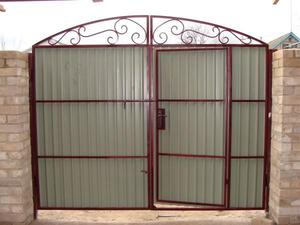
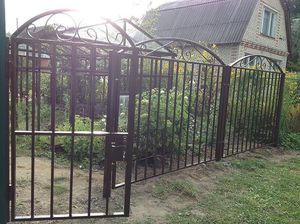
The photos below will give you a visual representation of how the finished ensemble of gates with a wicket made of plastic pipes looks like. As you can see, you can choose stylish options that will decorate your site.
Advantages of structures based on profile pipes:
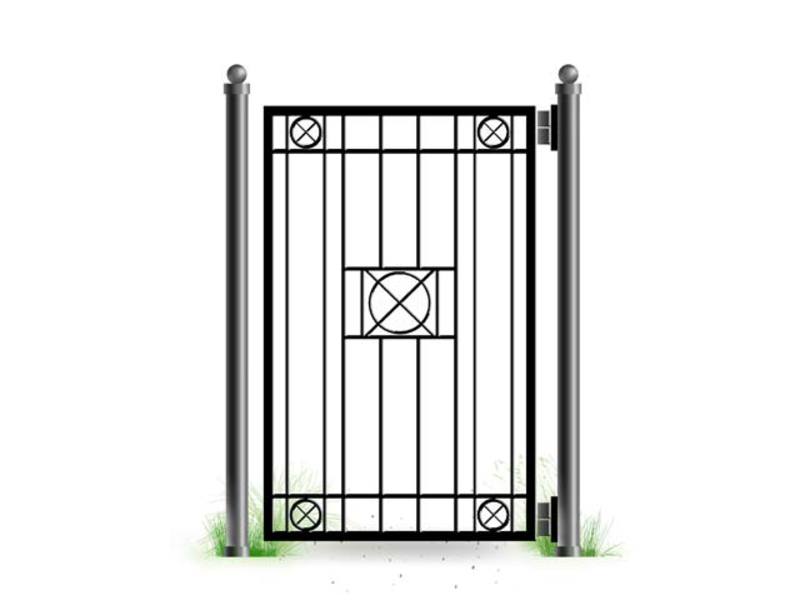
Gates from a profile pipe

What is required for work?
To quickly install the gate and gate, you will need the following tools:
And the materials for installation will require the following:
- profile pipe. She is should not be too thin, while it must be moderately rigid and withstand sufficient loads;
- anti-corrosion liquid (as an option gasoline);
- dye;
- primer;
- hinges for gates and wickets. They must be powerful to withstand the load. It is advisable to take with a built-in bearing that ensures smooth movement of structural elements;
- sheathing material, if you are planning it;
- gate lock;
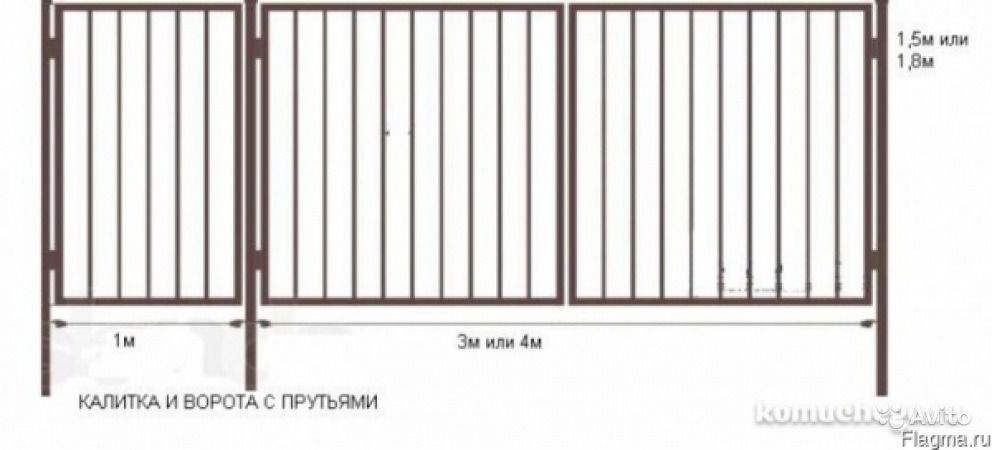
After purchasing the necessary materials make a drawing of the future project, which you have previously chosen, prepare a profile and carefully calculate all dimensions. It is very important to accurately calculate all the parameters so that in the future the gate and gate open and close without problems.
Installation of gates and gates: stages of work
It is not so difficult to make a wicket and a gate from a profile pipe on your own. After you have prepared all the tools and materials, you can get to work. Below is a step by step installation plan.
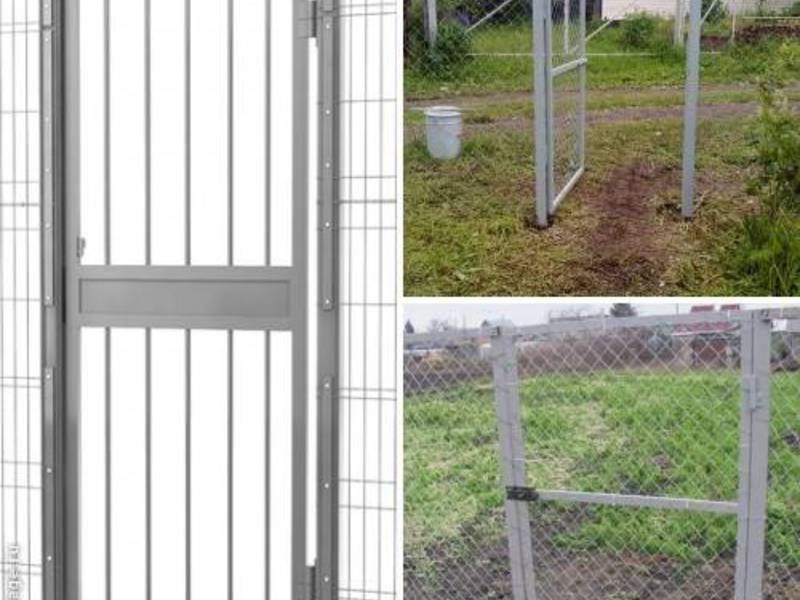
Pole installation
The structure must be placed on poles. When installing a gate with a wicket, pipes should be taken per meter longer than the intended height. A frame will be attached to these pipes. Besides, poles must withstand the load of additional parts, but also not to succumb to gusts of wind and prevent sagging of the structure. The work includes the following activities:
The poles must be installed correctly, they must stand strictly vertically. To do this, you need to use a plumb line. The smoother they stand, the better the whole structure will be installed.
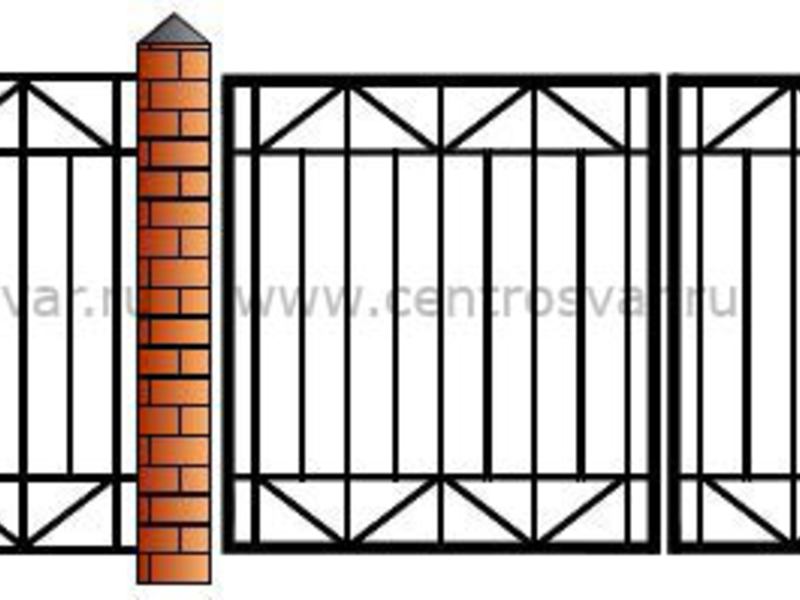
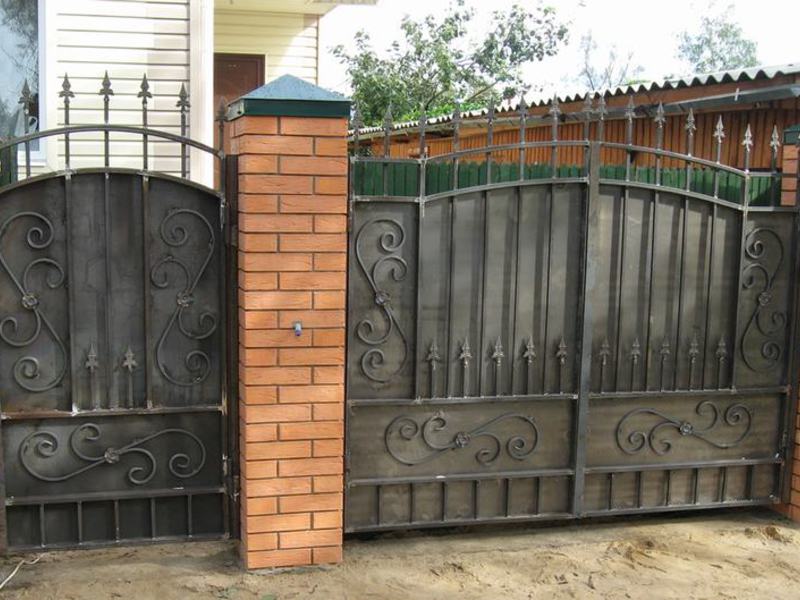
How to make pillars out of bricks?
Metal poles for gates with a gate may not always fit into the overall style of the exterior, so they can be made brick by overlaying the main pillars with brick.
Such a decision will only improve the quality of the entire structure, and the gate and gate made of profile pipes will become more stable and will be less exposed to negative external influences. In this case, you can choose a brick of different shades and configurations. Brick laying looks like this:
- first we prepare the solution by analogy with the previous paragraph, but its viscosity must be reduced;
- lay out the first row with whole bricks;
- lay out the second row with bricks three-quarters in size so that the ordering is stronger;
- install mortgages in the seams of the masonry in the form of metal plates with a thickness of 5 mm or more;
- wait until the solution dries, but not entirely and do the jointing;
- top of brick pillars you can put decorative caps, which will not only give the structure a complete look, but also drain water when it rains. They can be purchased ready-made or ordered to be made according to an individual design.
Frame installation features
When assembling wickets and gates from profile pipes, you need to have a prepared workplace available. A welding table is the best.
You can start making the frame of the structure. Remember that the work of all elements depends on its quality. If something is done incorrectly, then the system may be disrupted.
The stages of building a frame are as follows:
Also, do not forget about the accuracy of laying out the structure and checking the plane with a level, so that the so-called propeller does not appear later. Before the welding process, all elements must be pressed with clamps.
Now that you have assembled the frame of the gate and gate, they can be hung on poles.
How to attach the gate and gate to the posts?
To attach a gate and a gate to the posts, you need use only powerful curtains, this will give the structure rigidity and eliminate sagging. It is better to use bearing-based fasteners so that everything works for a long time and reliably.
Extremely it is advisable to leave a small gap between the gate leaf and the ground at least 10 cm long. Thanks to this, the mechanism will work freely even with a thick snow cover.
So, all the work on the manufacture and installation is completed. If you wish, you can be creative and decorate the gate with the gate as you wish. You can sheathe them, decorate with decor and so on. You will surely find ideas and photos of tangent design on the Internet.